Overview #
Turn any page of your website into a checkout page. Your customers can add or remove products from their cart and complete payment without leaving the page and having to wait for a new page to load.
WooCommerce One Page Checkout plugin allows the entire checkout process to be completed using a single form on one single page.
The benefits of the One Page Checkout WooCommerce plugin are:
- Lets customers go through the checkout process as simply and quickly as possible
- Shortens the purchase funnel
- Improves customers’ shopping experience
- Reduces cart abandonment
One Page Checkout WooCommerce plugin fields can be displayed on single product pages, or you can add the field to custom landing pages for unique promotions. You can set it globally or per product wise using the shortcode feature.
Enabling One Page Checkout #
To enable and use the One Page Checkout plugin, you should first download and install Booster for WooCommerce.
1. Navigate to Booster > Plugins > CART & CHECKOUT.
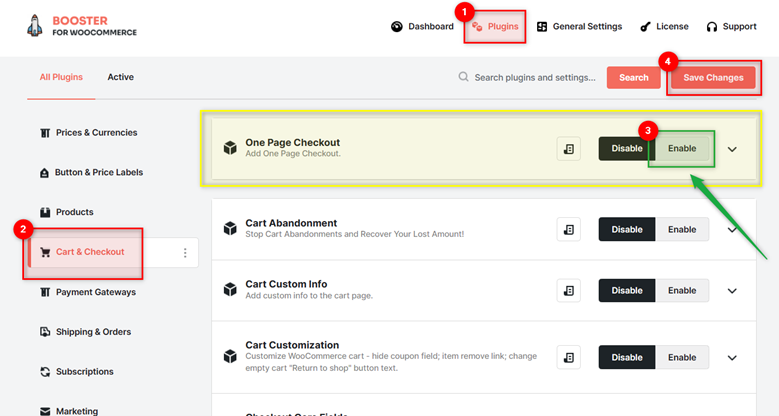
2. Scroll down to the One Page Checkout plugin and select the Enable field, present in front of its name.
3. Click Save Changes.
Configuring One Page Checkout by Product IDs #
- Go to Booster > Plugins > CART & CHECKOUT page once you have enabled the plugin.
- In the General Options tab > General section, search and select the IDs of the products for which you want to enable the One Page Checkout feature in the Products field.
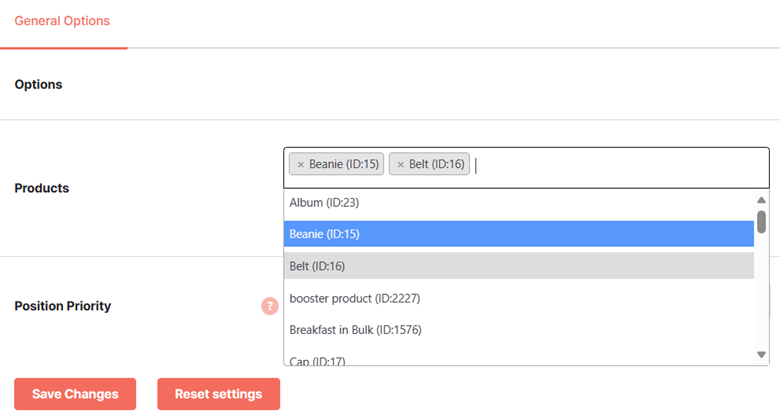
The plugin also enables a meta box per product edit page for your shop. So, even if you leave the Products field empty here, and select Yes for the meta-boxes in product edit pages, it will work as you desire.
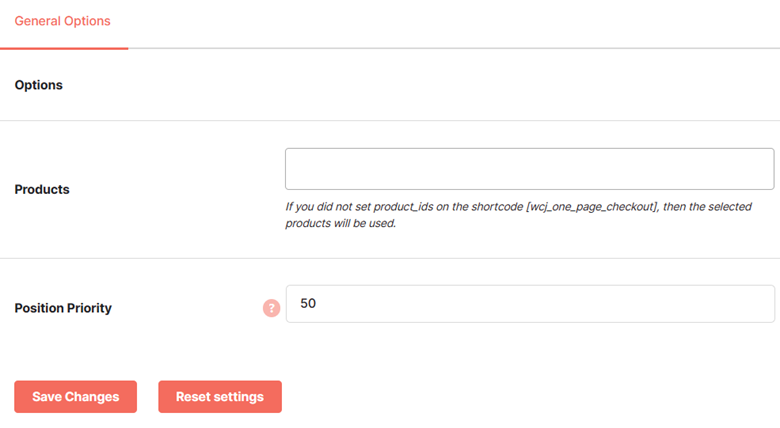
Note: If you do not set product_ids in the shortcode, then the One Page Checkout feature will be enabled for the products selected in this section.
- Click Save Changes.
Enabling One Page Checkout for a Product in Your Store #
Once you enable this plugin, the One Page Checkout tab will be added to the edit mode of all the selected product pages. To use it:
- Navigate to WordPress Dashboard > Products > All Products.
The Products page will be displayed.
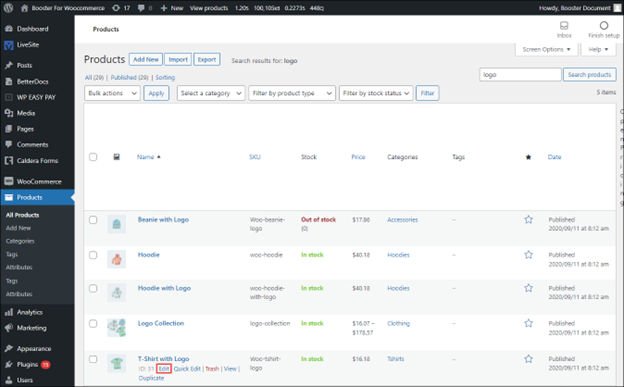
- Click Edit for the product to which you want to add input fields.
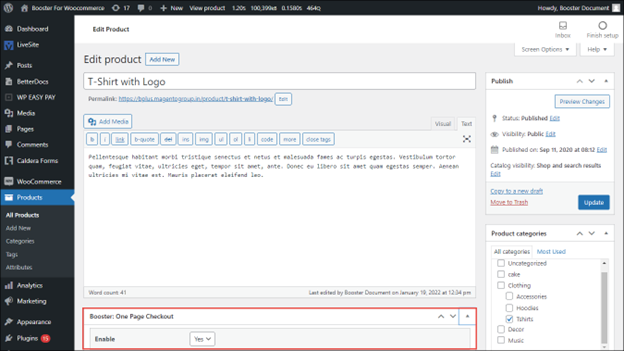
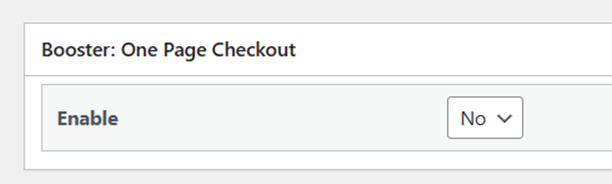
3. In the Booster: One Page Checkout section, select Yes from the Enable dropdown list.
4. Click Update.
Note: You must update the page to view the changes on your product page. You cannot preview the input field changes as you would preview any other changes on a WordPress page.
- Repeat steps 2 through 5 for all the products whose IDs you selected in the Products field.
The one-page checkout feature will be enabled for all the selected products and reflected on the product page.
Output #

Creating a Product Bundle and Letting Buyers choose what to Buy #
- Navigate to WordPress Dashboard > Products > Create New.
- Use the one page checkout shortcode and specify the product IDs of products to be included on this single-page checkout page.
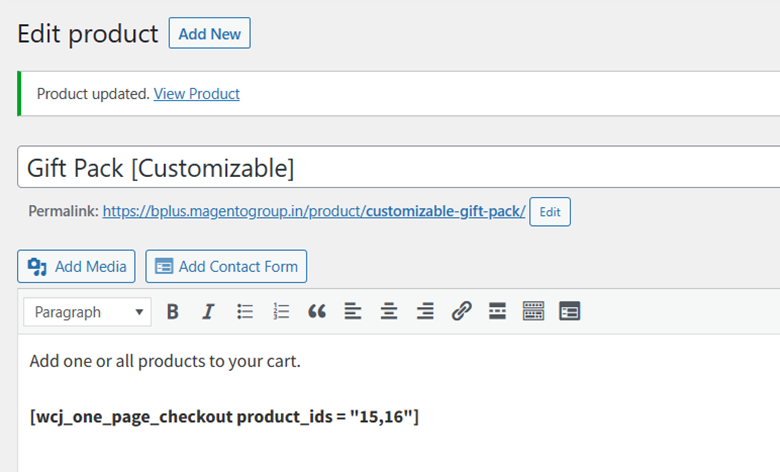
- Make sure that you do not Enable the Booster: One Page Checkout meta box for this page because the shortcode is already here. Otherwise, the shop customers will see the checkout section twice on the page.
- Edit other details for this page and click Update to save changes.


