- Overview
- How to Install the Email Verification Plugin – Booster on your Store?
- How to Disable Email Verification for Several User Roles in your Shop?
- How to Enable Email Verification for Each login to your Online Store?
- How to Redirect Users to Store after Successful Verification?
- How to Prevent User Login Globally?
- How to Redirect the User to a Custom URL after Verification?
- Setting Various Messages for the Email Verification Process
- How to Create the Verification Email with Account Activation Link in WooCommerce?
Overview #
The Email Verification Plugin lets store owners set up a full-fledged verification process for the users registering to the online store. It also allows you to select the user role(s) that require following this verification process.
With the Booster – Email Verification Plugin, you can add the following functionalities to your online store:
- Enable login once the verification is complete
- Enable verification for each login for the registered users
- Configure registration-related messages on various events (e.g. error, failure, success, activation, resending, failure due to missing user ID)
- Prevent automatic global login for several conditions
- Enable custom URL redirection after a successful registration
- Decide the contents of the verification email and send a verification link
Why Must You Have an Email Verification Process In Place? #
WooCommerce store owners are required to send communication emails, delivery information, order status, recipients, and offers to their clients often. Having your customer’s account verified through an email address allows you to do it all smoothly.
Also, the email verification – to some extent – proves the genuineness of your customer. It will help you reduce the no-shows for cash-on-delivery orders while simplifying the delivery process.
For customers, getting registered to your online shop will prevent the repeated filling of their information, essential for making an eCommerce purchase, for example – billing address, shipping address, contact details, and even card details.
Email verification connects your buyer to your store for the long term, letting you send them offers frequently. So, it will also help in customer retention.
How to Install the Email Verification Plugin – Booster on your Store? #
- Download, install, and activate Booster for WooCommerce in your store.
- Go to Booster > Plugins > EMAILS & MISC. and select Enable for the Email Verification
- Click on the Save Changes

How to Disable Email Verification for Several User Roles in your Shop? #
- Go to the General Options section on the Booster > Plugins > EMAIL & MISC. > Email Verification
- Select the user roles that need not verify their email address while registering to your online store. The Skip Email Verification for User Roles option is where you will find a multi-select input box for this purpose.
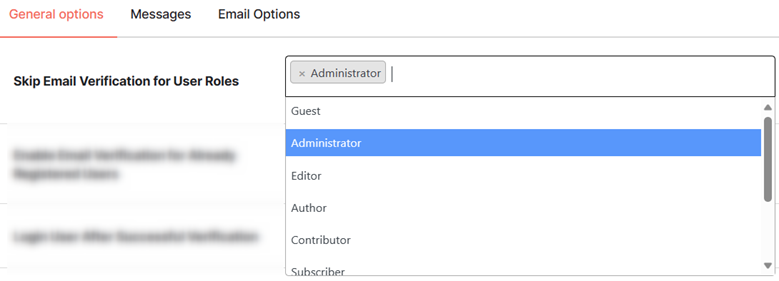
- Save the changes to reflect them in your online store.
How to Enable Email Verification for Each login to your Online Store? #
Do you want to verify the email address of your customer or other user roles, every time they log in to your store? That’s possible with the Email Verification Plugin.
Just enable the Enable Email Verification for Already Registered Users option.

Once you save these settings, your store will require email verification for all users (with “verification required” configuration) – every time they log into your store.
How to Redirect Users to Store after Successful Verification? #
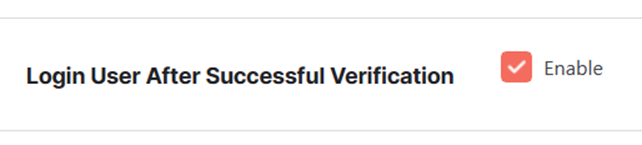
In general, a successful verification leads the user back to the login page, from where he can log in to your WooCommerce store. However, if you want to let users log in automatically to the store once their identity is verified, select Enable for the Login User After Successful Verification option.
How to Prevent User Login Globally? #
To avoid letting the users automatically login to the pages like checkout, or to the store just after registration, select the Prevent User Login Globally. It will make the login essential for all crucial pages and steps in your store.

How to Redirect the User to a Custom URL after Verification? #
If you want the users with verified identity to reach a particular page other than login or home, enter the URL in the Redirect User After Successful Verification to Custom URL field.

Setting Various Messages for the Email Verification Process #
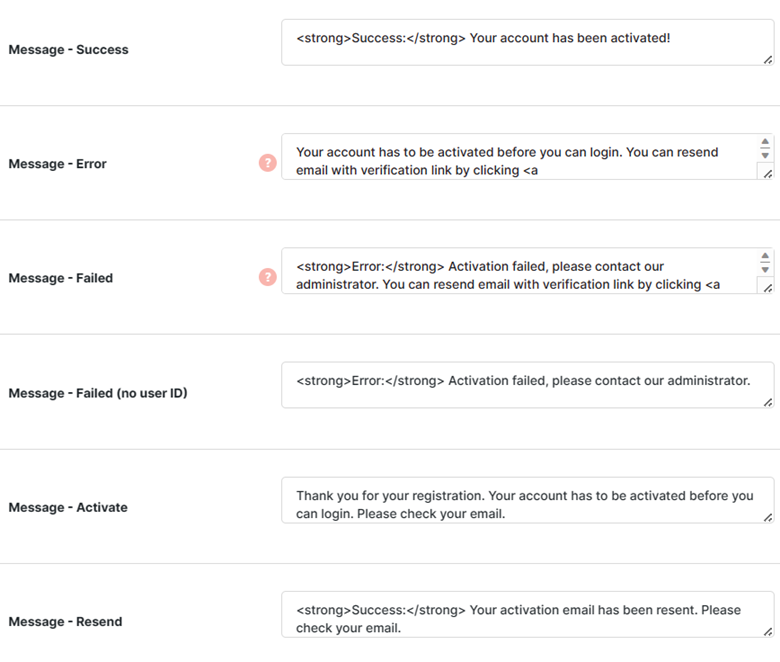
Use the options in the Messages section to automate the sending of various types of email verification-related messages during the process. You can specify the content for the message for the following situations:
- When the verification is a Success;
- When the verification process runs into an Error;
- When the verification Failed;
- When the verification Failed due to no user ID;
- When the verification could Activate the user account;
- When the verification process requires to Resent the activation link.
How to Create the Verification Email with Account Activation Link in WooCommerce? #
- In the Email Options section, enter the Email Subject Text.
- Specify the content of the email in the Email Content Use the variable “%verification_url” to embed the verification URL in the email content.
- Select the Email Template between Plain and WooCommerce
- If you are going ahead with the WooCommerce Template, enter the Email Subject in the next text input field.
- Save changes.


