Purchasing the Booster Plugin #
- Go to our official site using this link.
- Click the Get Booster Now button or use this link.

- On the pricing page that just got opened, look for the plan that matches your needs.
- For the relevant plan, click the button to initiate the purchase.
- Provide all the necessary details on the billing page, accept the terms, and proceed to make the payment.
- Click Go to Customer Dashboard once the purchase is successful, in case you want to get started with the plugin right away.
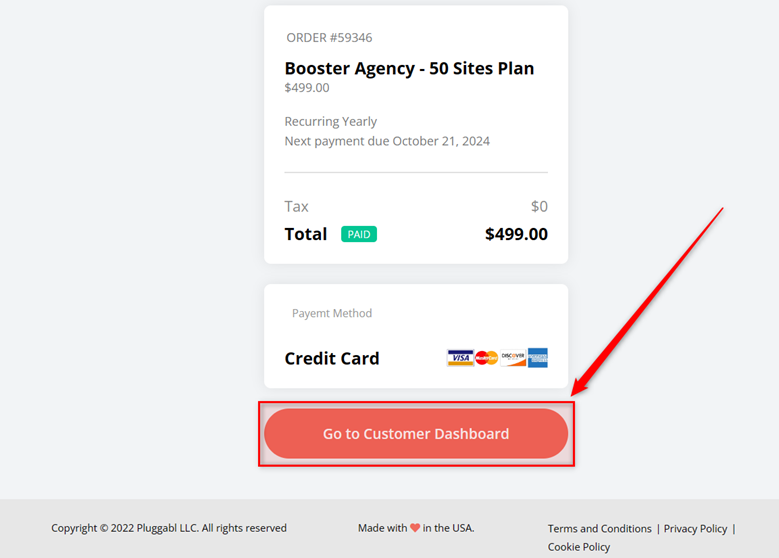
- Once the purchase is completed, you will receive a confirmation email. This email will have all the details related to your plan alongside the link to download the Booster plugin.
Finding your Order Details #
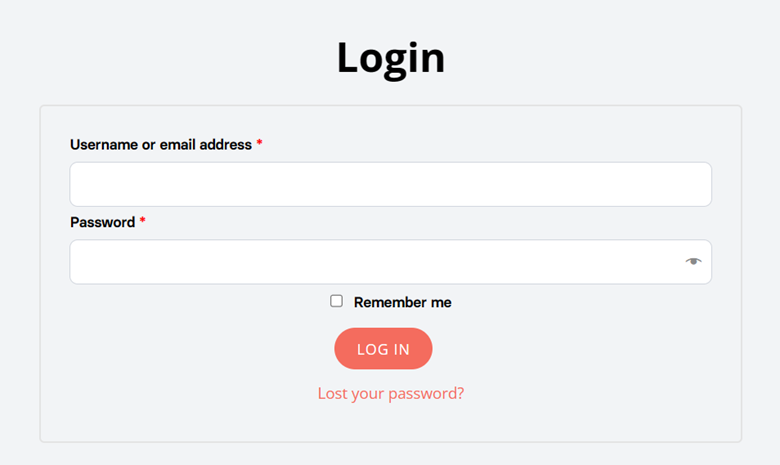
- Login to Booster using this link. Alternatively, you can use the My Account icon (in the top bar) or the My Account page’s link (in the Footer) from the Booster.io home page.
Note: If you do not know your Booster account’s password, use this link to reset it.
- To see the details related to any of your purchases, go to your Booster account > Orders. It will be enlisted in the orders list and can be viewed by clicking the View If you have more than one plan purchased, you will see all purchases separately in this dashboard.
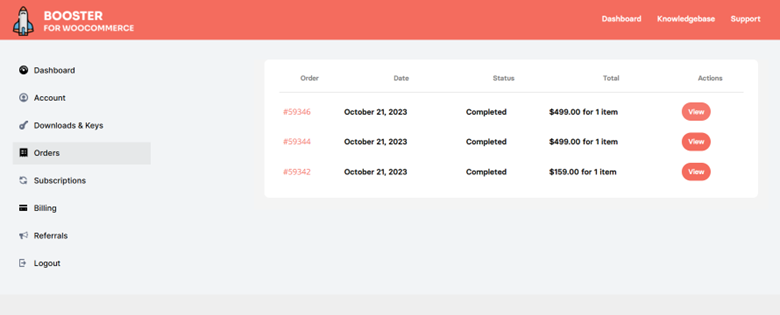
- Click the View button to expand details related to any particular purchase/plan.
Setting up Booster for your WooCommerce Store #
Purchased the Booster plugin? Great decision.
Now, let’s explain how to configure Booster for your website so that you can use this plugin.
Step 1 – Download the Booster for WooCommerce Plugin #
Go to your Dashboard and click the Download Booster Plugin to download Booster.
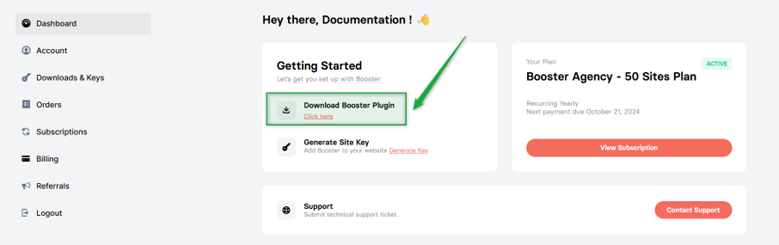
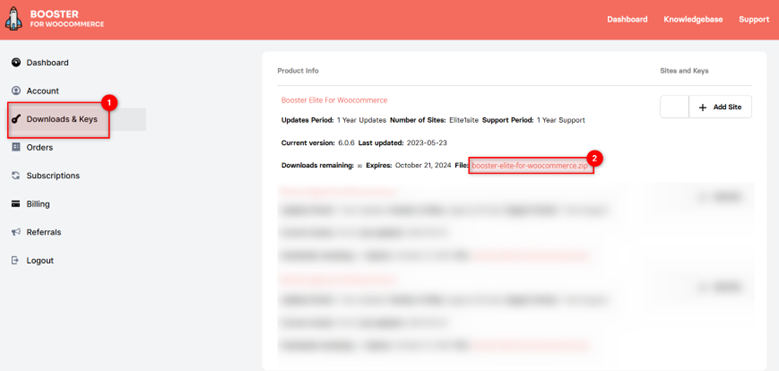
Alternatively, you can visit the Downloads & Keys page.
As you have purchased the plugin, you get:
- 1-year subscription
- Updates for 1 year
- License for single or multiple sites as per your plan
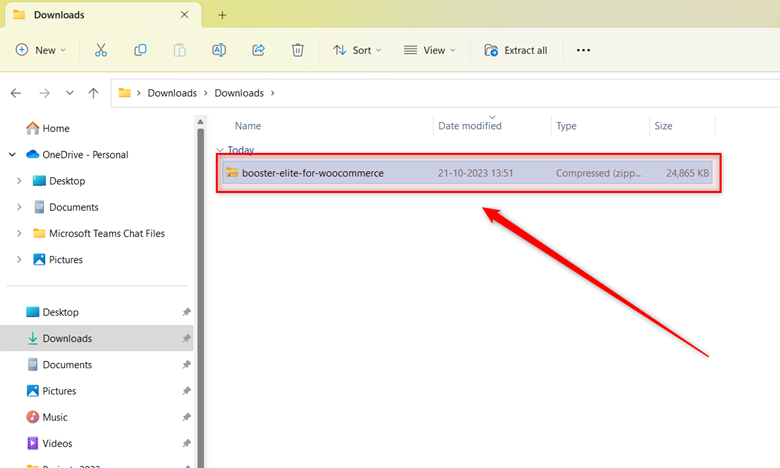
- Booster Plugin (in a Zipped folder)
- Key(s) by site(s)
Step 2 – Install Booster for WooCommerce on your eCommerce Store #
Note: To use Booster, you must have the WooCommerce plugin installed on your store.
Your zipped file, once downloaded, is ready to be installed on your online store.
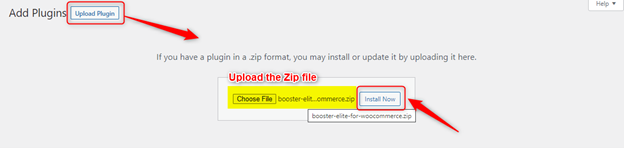
- Log in to your WooCommerce (WordPress) store, and go to Plugins > Add New.

- Click on the Upload Plugin button, next to the Add Plugins title on the Plugins > Add New
- Upload the file (we had downloaded a minute back) using the Choose File
- Click on the Install Now button once it is uploaded.
- Let the installation process complete.
- Activate the plugin by clicking on the Activate button for the said plugin. You can find this option just after the installation on your screen, or on the Plugins page – below the name of the Plugin in the list.

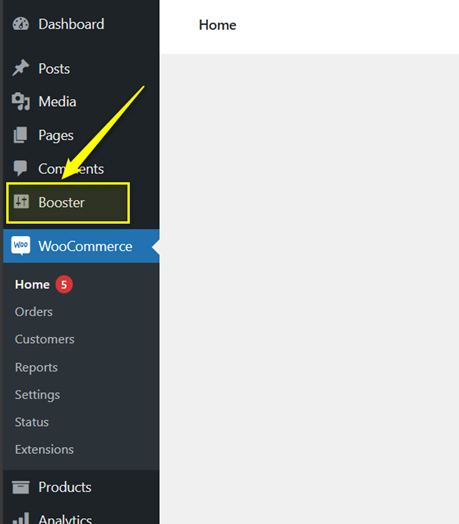
If all went well, you will see a new menu named Booster in your dashboard.
Step 3 – Activate Booster using the Site Key #
At present, you have the Booster Plugin installed, but many of its features might not be working. It’s because you need to complete one last step. Let’s explain it next.
- Go back to your Booster Account Dashboard > Downloads & Keys
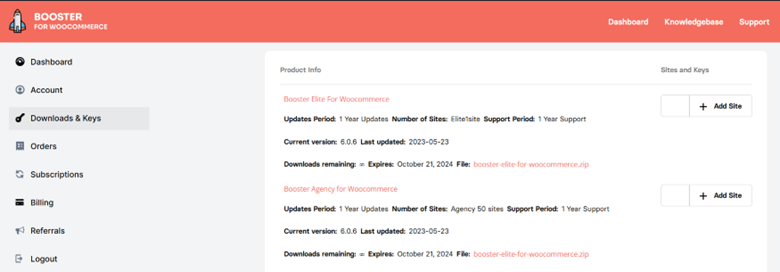
From here, you will find all your purchased plans enlisted. Now, you can create Keys for your various sites – as per the maximum number of sites allowed per plan.
For example, for the Agency plan, you can create 50 site keys. On the other hand, the Personal plan will let you create 1 site key. For this:
- Enter the site’s URL in the blank field (for the desired product/purchase).
- Click +Add Site.
- Copy the Site Key and use it to activate the site’s license (follow the instructions given in step 4).

Note: Please make sure to enter the site URL exactly as it appears on your site. Pay attention to the backslashes (“/”), periods (“.”), https, and “www” in the URL, especially. To avoid errors, visit your website once and copy the complete URL from the address bar without any omissions.
Step 4 – Activate the Site’s License using a Key #
- Login to your website’s dashboard. (We are presuming that you have enabled Booster for WooCommerce on this site, following the steps mentioned above. If not, please do it).
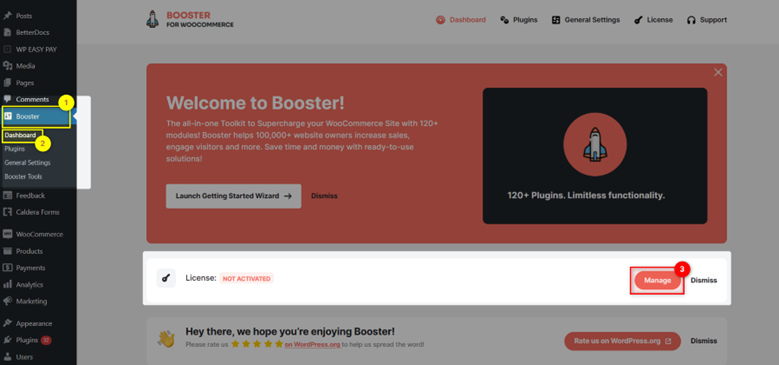
- Go to Booster > Dashboard and click the Manage button, present in the License section in this dashboard. You can also go to the License tab from the plugin menu bar in this dashboard.
- In the Site Key field, enter the value of the key that you had copied from the Downloads & Keys It is imperative that you select a key that is generated using the exact URL of your website. Other keys cannot be used here.
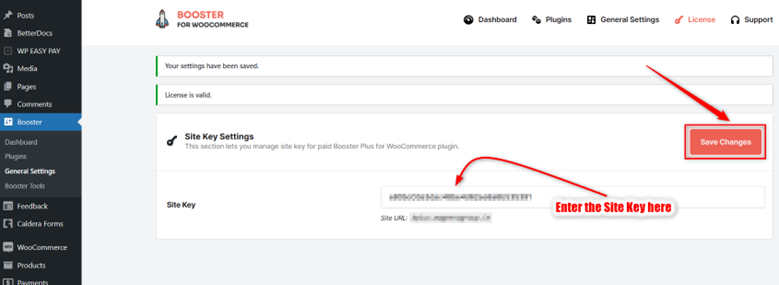
- Click on the Save Changes
That’s it. Now, Booster is ready to use – try its full-fledged list of features and enrich the shopping experience for your eCommerce sites’ end-users.
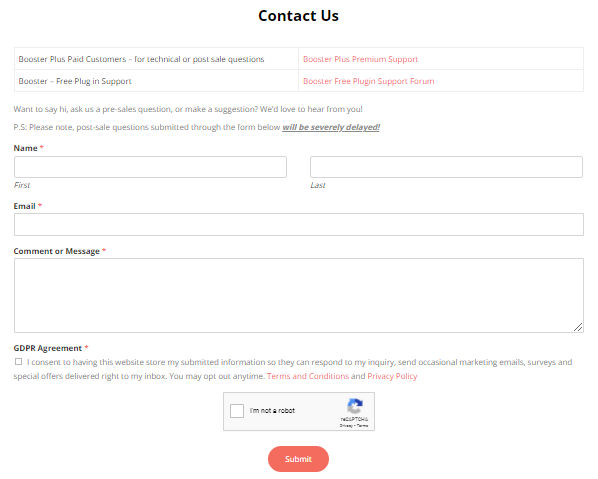
For any queries, you may reach out to us using this link.