Overview #
The Booster Wishlist for WooCommerce plugin allows your customers to add products they desire to buy in the future in one place. Using this Booster plugin, you can enable a wishlist globally for your entire WooCommerce site or on a per-product basis.
These products will not be added to their cart but will remain enlisted in the wishlist so that they can add them quickly to the cart whenever they wish.
Enabling the Wishlist feature on your WooCommerce site ensures returning customers and fulfills sales from such customers.
Note: This plugin is not available for the Booster “Pro” plan users.
Enabling the Wishlist Plugin for WooCommerce #
To enable and use the WooCommerce Wishlist plugin, you should first download and install Booster for WooCommerce.
- Navigate to WordPress Dashboard > Booster > Plugins > CART & CHECKOUT.
- Scroll down to the Wishlist plugin, select the Enable option for it, and save changes.

The WooCommerce Wishlist plugin will be enabled for your site
Plugin Settings #
Archives (Product Loops) #
When this option is enabled, your customers can add a product to their wishlist directly from the category page and do not have to navigate to the individual product page to add it to their wishlist. You can add the wishlist feature, either as a text link or button, to all the products across your website using this option.
- In the Archives (Products Loop) section, check the box for the Enable/Disable – Enable field.
- Enter/select the required values for the fields. Refer to the table below for field descriptions:
| Field | Description |
| Title | Title of the wishlist link |
| Style | Display the type of the wishlist link. The available options are Text(link) and Button. |
| Position | Placement position of the wishlist link. The available options are the Before Add to Cart button, Before Product Title, and After Product Title. |
| Position Order | Position or priority, in pixels, of the wishlist link. |
- Click Save Changes.
The wishlist feature will be configured and reflected on all category pages of your website.
Output #
A sample category page with the wishlist link as a Text(Link) is shown in the screenshot below:

Single Product Pages #
You can add the wishlist feature, either as a text link or button, to the product pages on your website using this option. When this option is enabled, your customers can view the details of a product and then add it to their wishlist.
- Navigate to WordPress Dashboard > Booster > Plugins > CART & CHECKOUT > Wishlist.
The WooCommerce Wishlist page will be displayed.

- In the Single Product Pages section, check the box for the Enable/Disable – Enable field.
- Enter/select the required values for the fields. Refer to the table below for field descriptions:
| Field | Description |
| Title | Title of the wishlist link |
| Style | Display the type of the wishlist link. The available options are Text(link) and Button. |
| Position | Placement position of the wishlist link. The available options are After add to cart button, Before add to cart button, After add to cart form, Before add to cart form, Before product title, After product title, Before single product summary, Inside single product summary, and After single product summary. |
| Position Order | Position or priority, in pixels, of the wishlist link. |
- Scroll down to the end of the page and click Save Changes.
The wishlist feature will be configured and reflected on each product page of your website.
Output #
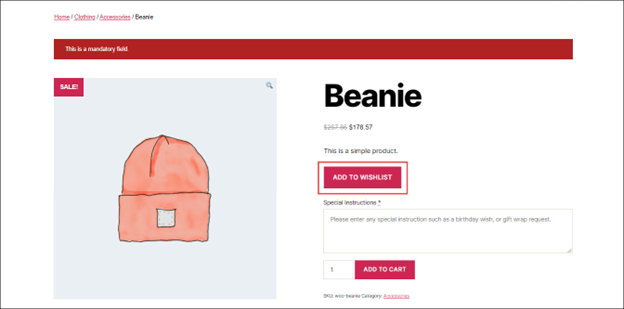
A sample product page with the wishlist link as a Button is shown in the screenshot below:
Wishlist Page #
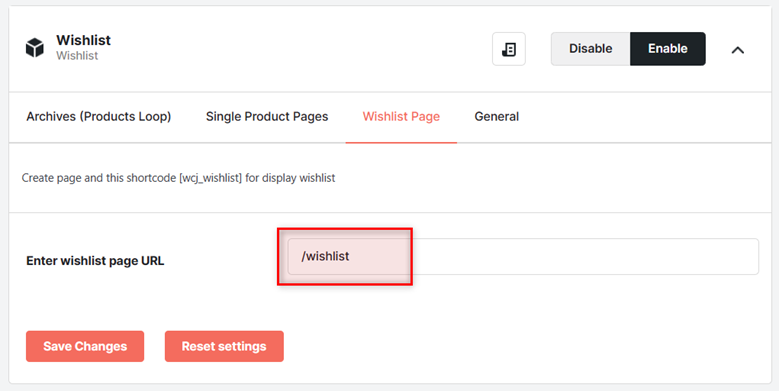
Go to the Wishlist Page tab to set a URL for your store’s wishlist page.
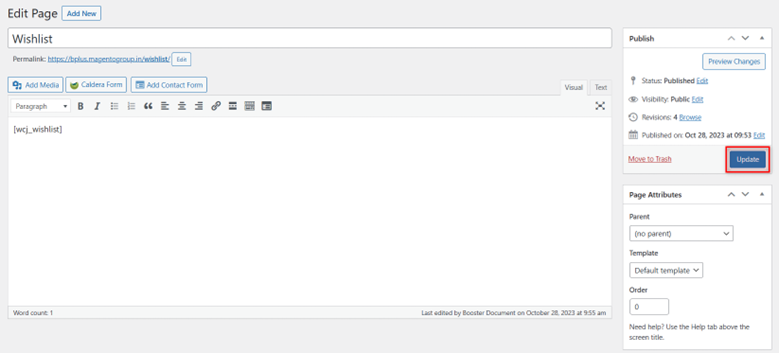
Now, create a page with the mentioned slug/URL in your store and add the shortcode [wcj_wishlist] to it. Update the page to save it and make it available for your store’s users.
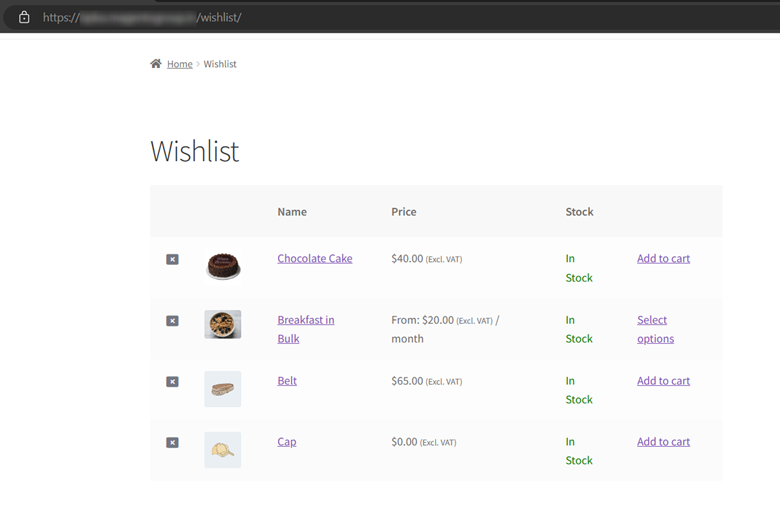
Output #
The items that the user will add to his wishlist will be displayed on this page.
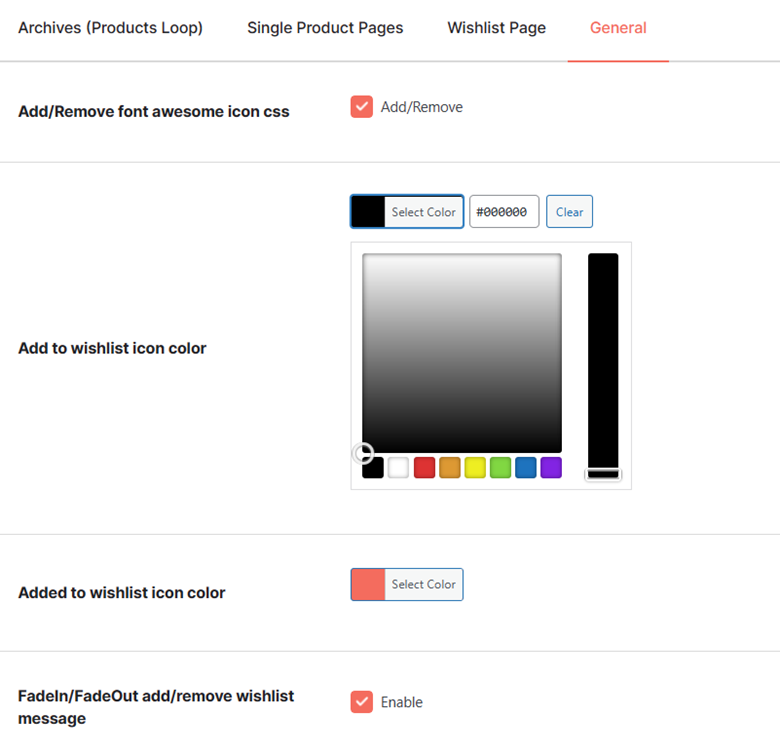
General #
Go to the General tab if you wish to customize the colors and message display settings for your wishlist. From here, you can edit the following:
- Add/Remove font awesome icon css
- Add to wishlist icon color
- Added to wishlist icon color
- FadeIn/FadeOut add/remove wishlist message
Store Preview #


