- Overview
- How to Enable Add to Cart In WooCommerce Plugin for Your Store?
- How to Redirect all Add to Cart Buttons to the Same URL within Your Shop?
- How to Redirect Add to Cart Buttons to a Local URL from Any Product Page?
- How to Add Products to Cart On Visit?
- How to Enable Radio Buttons for the Variable Products instead of Default Layout?
- Replace Add to Cart Button on Archives with Single
- Disable Product Quantity or Let Buyers add a product Once only
- Add to Cart Button Custom URL
- Add to Cart Button AJAX
- How to Open External Products in New Window on Add-to-Cart
- Message Options
- Position Options
- Reset Add to Cart In WooCommerce Settings
Overview #
The Add to Cart in WooCommerce plugin is all you need to hide, show, reposition, replace, or change the on-click or on-visit action of your add-to-cart button for your WooCommerce store.
To deliver a unique purchase experience to your customers or enable advanced add-to-cart functionality, make sure to use this plugin. Here is a quick summary of what it does:
Add to Cart Button Redirects
- Add a local URL direct for all products
- Add separate local URL directs for your product using the per-product functionality
- Enable custom URL redirect per product
- Open redirects for external products in a new window
Changes in Buyer’s Journey
- Add the product to the user’s cart on visiting a product
- Disable entering item count/quantity for buyers from the single product page
- Disable entering item count/quantity for buyers from the cart page
- Disable buying multiple items of the same type.
- Enable Add to Cart Button AJAX
Modifications related to the “Add-to-Cart” button
- Replace variable product dropdown with neatly-designed or custom radio button
- Replace category/archive add-to-cart buttons with the ones on single product pages
- Change the “Continue shopping” or “View Cart” message
- Reposition the add-to-cart button on single product pages or category/archive pages
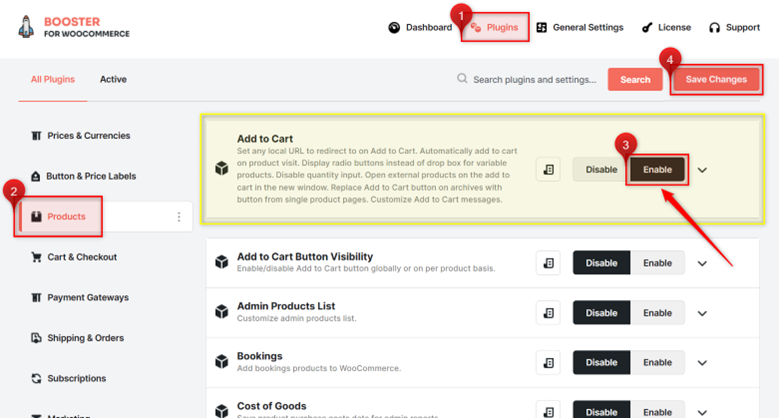
How to Enable Add to Cart In WooCommerce Plugin for Your Store? #
To configure custom settings for your store’s add-to-cart button, you need to follow the below-listed steps:
- Log in to your site’s WordPress admin dashboard.
- Install and activate the Booster for WooCommerce plugin.
- Go to Booster > Plugins > PRODUCTS.
- Select the Enable option for the Add to Cart
- Click on the Save Changes Now, click on the expand icon for this plugin, and it will take you to the Add To Cart In WooCommerce plugin settings page.
How to Redirect all Add to Cart Buttons to the Same URL within Your Shop? #
Let’s say you have many product pages in your shop, and when a person decides to buy any product, you want to send him to a “Thank you. Great Choice!” page, or to the “Checkout” page. Obviously, it is a nice idea. But how to implement it?
Well, here is an idea. Why not use the Add to Cart In WooCommerce Plugin?
In plugin settings, go to the Add to Cart Local Redirect section and follow these steps:
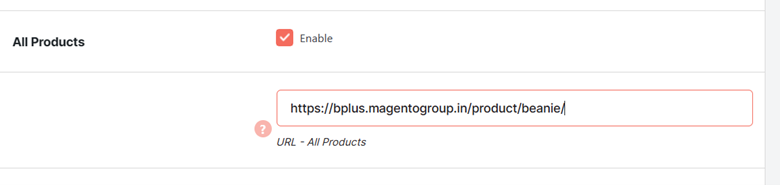
- Enable the All Products option using the checkbox button.
- In the URL – All Products input textbox, enter the URL.
- Save changes.
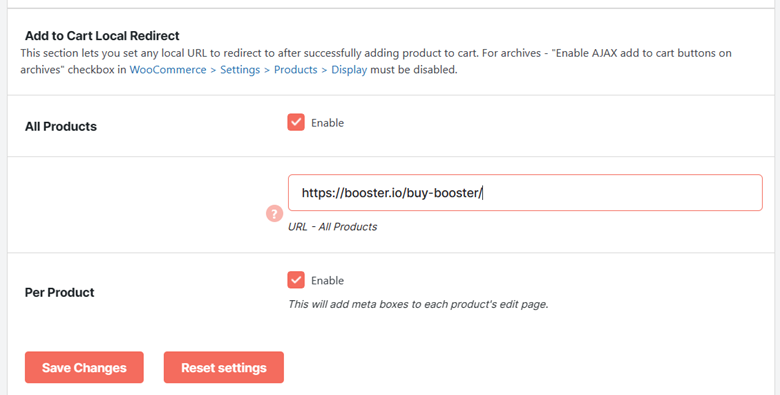
Note: If you leave the URL – All Products field empty or enter an external URL, you will be redirected to the shop’s cart page and shop’s home page, respectively.
You can enter any local URL in this field:
Store Preview: Add-to-Cart Local Redirect
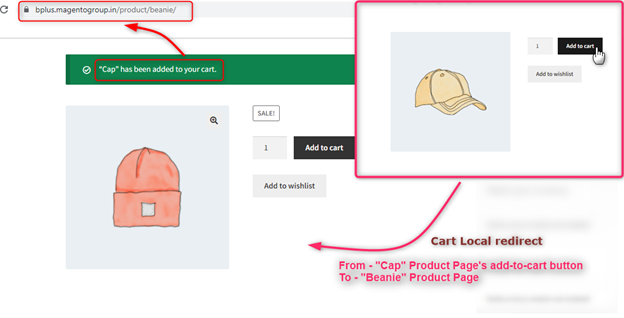
How to Redirect Add to Cart Buttons to a Local URL from Any Product Page? #
To add different URL redirects for different pages, you must Enable the Per Product sitting in the Add to Cart Local Redirect section.
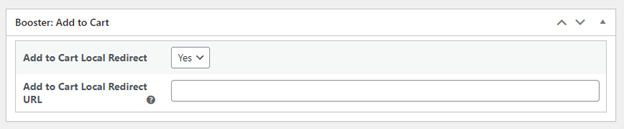
After this, you will be able to see a metabox named Booster: Add to Cart on your product.
- Select the value of the Add to Cart Local Redirect option as Yes.
- Enter the local redirect URL for your add-to-cart button for the Add to Cart Local Redirect URL If you will leave this field blank while the local redirect option is enabled, the buyer will be redirected to the cart page on click.
How to Add Products to Cart On Visit? #
Want to add products to the cart if a customer visits that product page?
That can be done using the Add to Cart In WooCommerce plugin.
Select one of the following options for the Add on Cart on Visit option.
- All Products – When you want to send each product to the buyer’s cart as soon as the single product page is visited.
- Per Product – When you want to enable Add-to-Cart On Visit functionality for some products, select this option.
- Disabled – To disable this functionality for all products in your store.

How to Enable Radio Buttons for the Variable Products instead of Default Layout? #
Variable products in an online store give customers the convenience of buying a particular variant of a product. It lets store owners display multiple options or varieties for a product, increasing the chances of sale and customer satisfaction. However, if the variable product page is not neat enough, it could affect your buyers’ shopping experience.
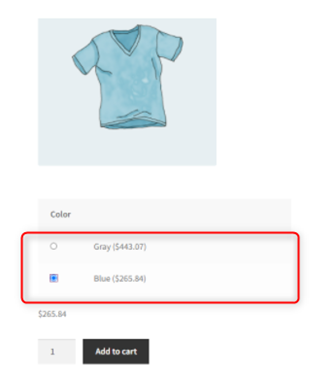
Showing product variants as radio button options can make your single product pages look better and more understandable.
With the Add to Cart In WooCommerce plugin, you just need to spend a few seconds or minutes editing the settings, and it will be done.
- Go to the Add to Cart In WooCommerce plugin setting following the path WooCommerce > Settings > PRODUCTS > Add In Cart.
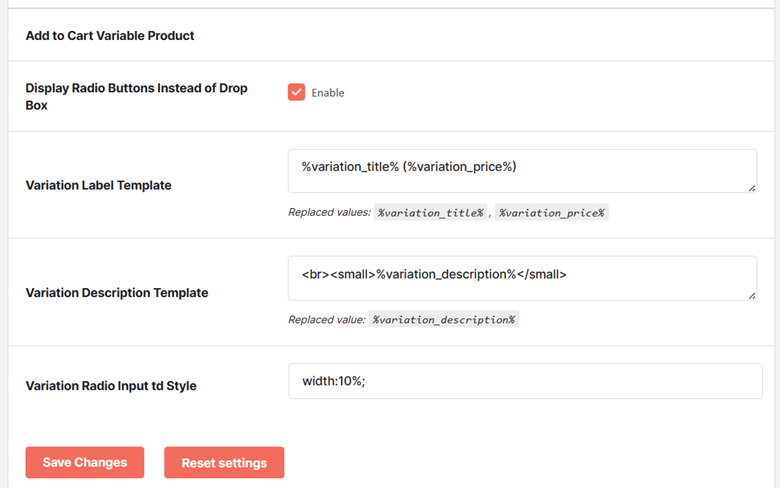
- Scroll down to the Add to Cart Variable Product
- Select the value for the Display Radio Buttons Instead of Drop Box field as Enable.
- Provide the HTML content for the Variation Label Template and Variation Description Template. You may use variables specified for each input field accordingly.
- Enter the CSS for the radio button section in the Variation Radion Input Td Style
Store Preview: Variable Product Options as Radio buttons
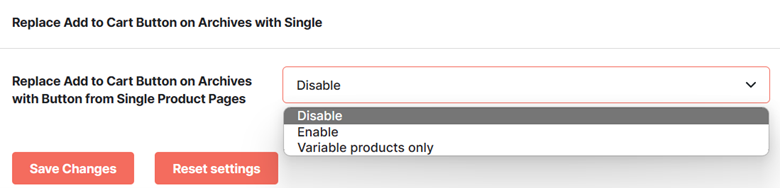
Replace Add to Cart Button on Archives with Single #
If you want to add the same ‘add to cart’ button functionality as your single product page on your archive page, use the dropdown button in the Replace Add to Cart Button on Archives with Single section.
- Select Enable as your option if you want to do it for all products in your store.
- Select Variable products only as your option if you want to enable this functionality for your variable products only.
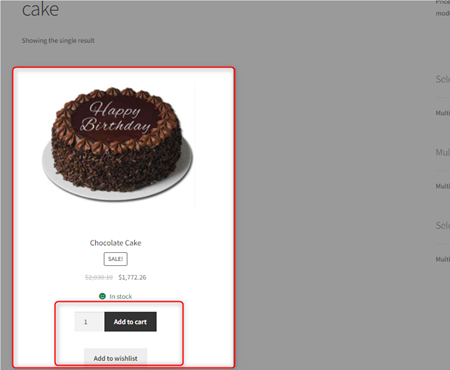
This way, if your single product page has an add-to-cart button with a wishlist option and an input field for entering item count, your archive page will also have the same.
Store Preview: Replace Add to Cart Button on Archives with Single
Disable Product Quantity or Let Buyers add a product Once only #
If you want to disable the product quantity field from your shop, do the following:
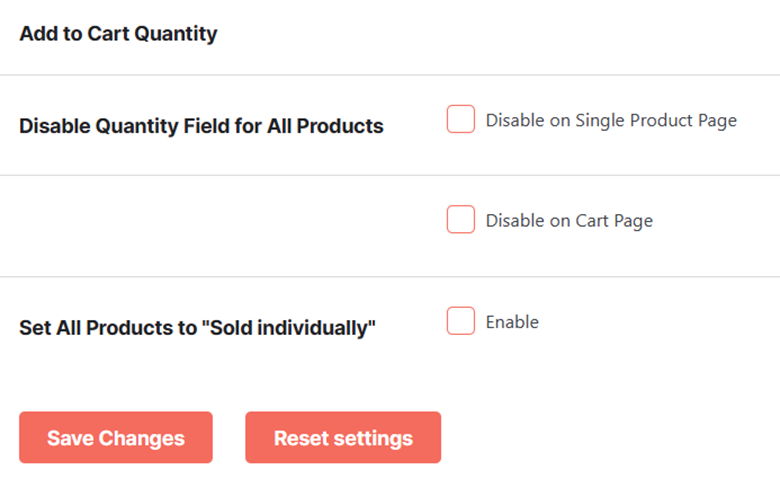
- Go to the Add to Cart Quantity section on WooCommerce > Settings > Booster > PRODUCTS > Add to Cart
- Now, you can do the following –
Disable the Item Count Input Field for all Single Product Pages #
Select the Disable on Single Product Page checkbox if you want to remove the product quantity field from your single product pages.
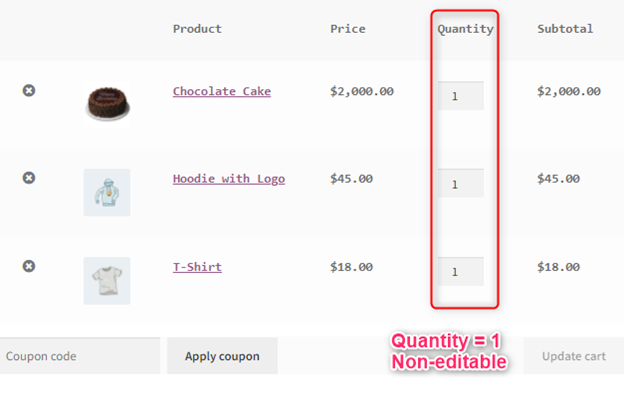
Disable the Item Count Input Field on the Cart Page #
Select the Disable on Cart Page checkbox for the Disable Quantity Field for All Products option.
It will make the quantity field non-editable from the cart page.
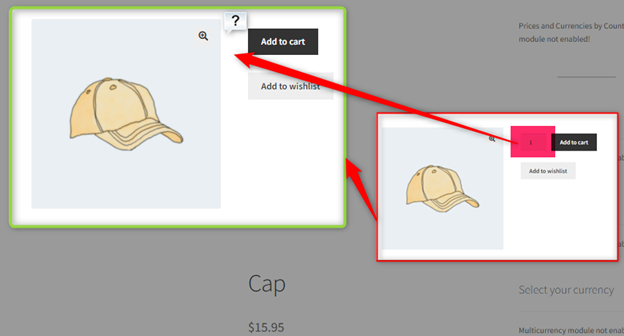
Store Preview: When Quantity Editing from the Cart Page is Disabled
How to Let Your Customers Buy Maximum 1 Item Per Product? #
Though the above options will let buyers add 1 item of a product to the cart every time, customers can still buy 2 or more items using the add-to-cart button repeatedly.
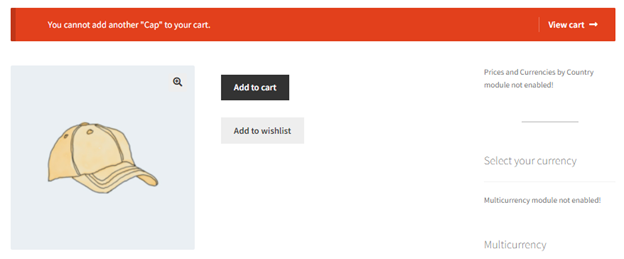
To disable buying multiple items of the same type, you can enable the Set All Products to “Sold individually” option in WooCommerce using the Add to Cart In WooCommerce plugin.
The sold individually functionality in WooCommerce means that a buyer cannot add a product to the cart twice or more. For sales where you have limited stock and a high rush of buyers, this feature can prove to be very helpful.
Store Preview: Alert message when a buyer tries to add a product that is already in the cart
Add to Cart Button Custom URL #
If, instead of the local/internal URL of your shop, you want to send the buyer to an external URL after adding a product to the cart, scroll down to the Add to Cart Button Custom URL section on the WooCommerce > Settings > PRODUCTS > Add to Cart page.
- Select Enable for the Custom Add to Cart Buttons URL on Archives on Per Product Basis It will add an option for entering a custom URL in the product’s edit page – Booster – Add to Cart metabox.
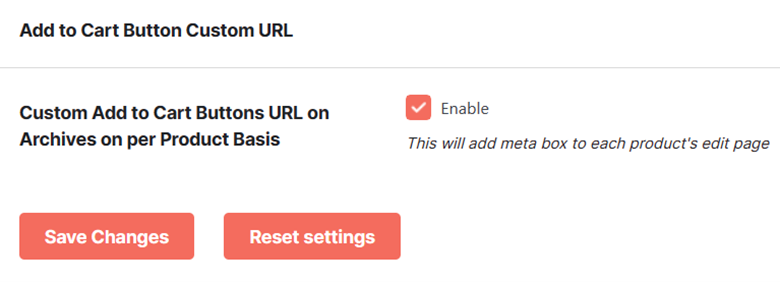
- Click on the Save Changes
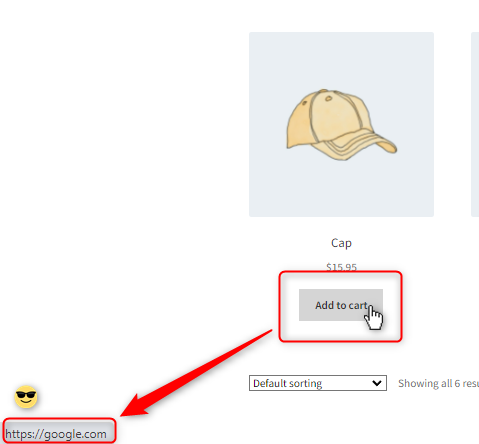
- Go to the relevant product page in edit mode.
- Enter the desired URL in the Custom Add to Cart Button URL (Category/Archives)

- Click on the Update button to save changes.
Store Preview: Redirecting to a Custom URL from the Add-to-Cart Button (Archive Pages)
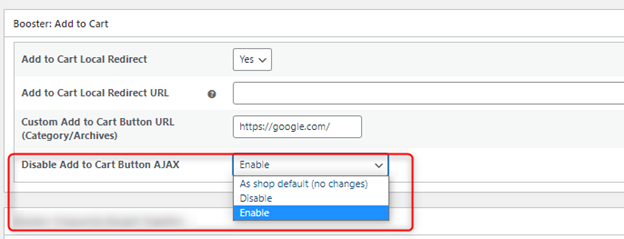
Add to Cart Button AJAX #
Use this option to enable or disable the Add to Cart Button AJAX on per Product Basis.
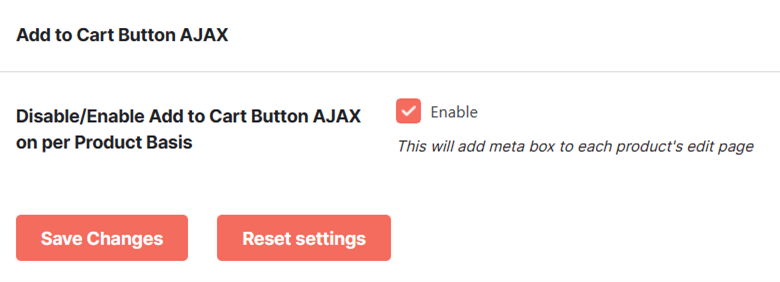
Upon enabling, it will add a field in the meta box on your product page in the edit mode.
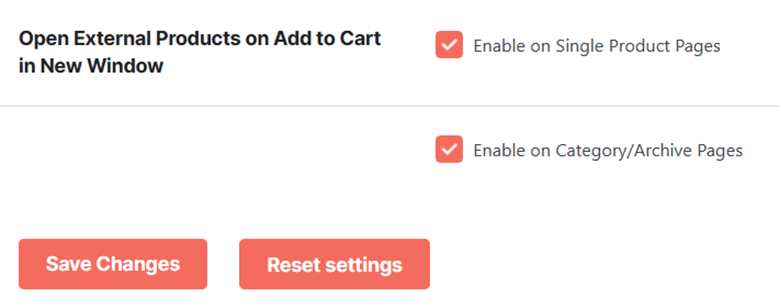
How to Open External Products in New Window on Add-to-Cart #
You can select the Enable on Single Product Pages and/or Enable on Category/Archive Pages checkboxes to enable one or both of the options for your store.
Message Options #
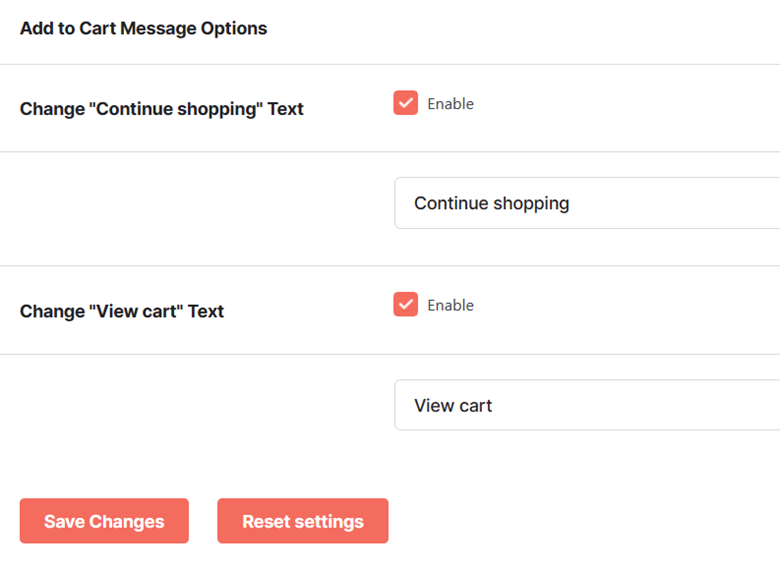
Want to change or modify the messages appearing for your buyers?
Enable the Change “Continue Shopping” Text option and modify the value in the given input field. It will replace the default “continue shopping” text with your desired message.

Enable the Change Change “View cart” Text option and modify the value in the given input field. It will replace the default “View Cart” text with your desired message.
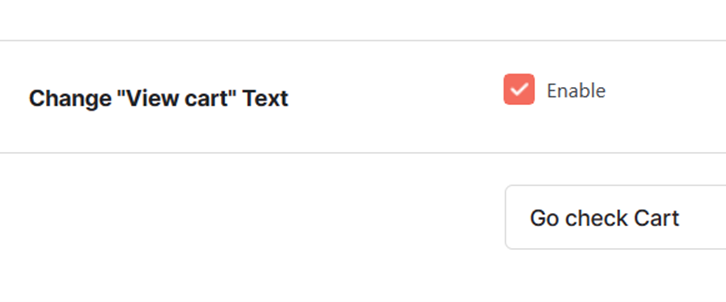
Store Preview: Replaced “View cart” Text with “Go check Cart”

Position Options #
The Add to Cart Button Position Options section lets you change the position of the add-to-cart button on the single product pages and category/archive pages –

Reposition Button on Single Product Pages #
You can change the position of the add to cart button on single product pages to before single product summary, single product summary, and after single product summary.
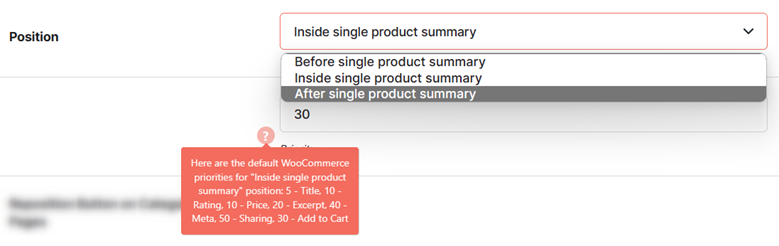
Store Preview: Displaying Add-to-Cart button After Single Product Summary

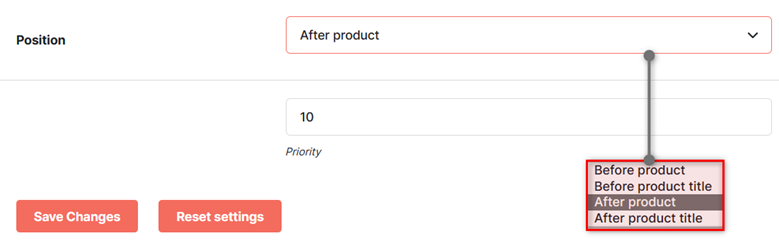
Reposition Button on Category/Archive Pages #
If you want to change the position of the add to cart button on the category/archive pages in the shop, enable the Reposition Button on Category/Archive Pages and choose a value among the following:
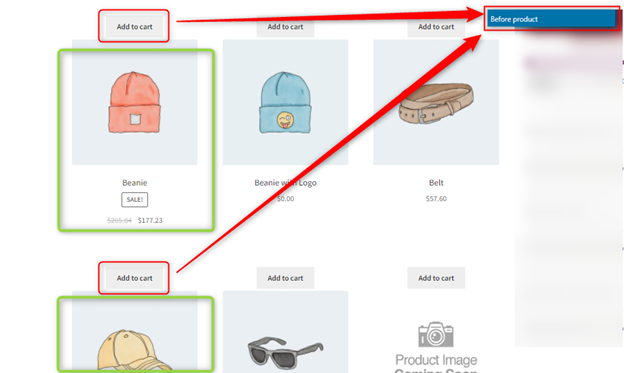
- Before product
- Before product title
- After product
- After product title
Store Preview: Displaying Add-to-Cart button Before Product in the Category/Archive Pages
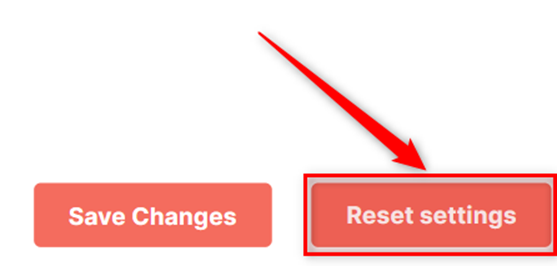
Reset Add to Cart In WooCommerce Settings #
To make the plugin re-adopt its default settings for your store, use the Reset Settings button. It will reset the settings you have configured for the store and restore the default ones in one click for your ease.