Overview #
The WooCommerce Cart Customization plugin allows you to customize the WooCommerce cart in multiple ways. Use it when you wish to:
- Hide the coupon code field;
- Hide the item remove link;
- Change the Return to Shop button’s title;
- Change the Return to Shop button’s link.
Enabling Cart Customization in WooCommerce #
To enable and use the WooCommerce cart customization plugin, you should first download and install Booster for WooCommerce.
- Navigate to Booster > Plugins > Cart & Checkout in your WordPress admin Dashboard.
- Select Enable for the Cart Customization plugin on this page.
- Click Save Changes.
The WooCommerce Cart Customization plugin will be enabled for your site.
Configuring Cart Customization Settings #
Have a quick look at the General Options tab of the Cart Customization plugin and scroll down to see what each of these options does.
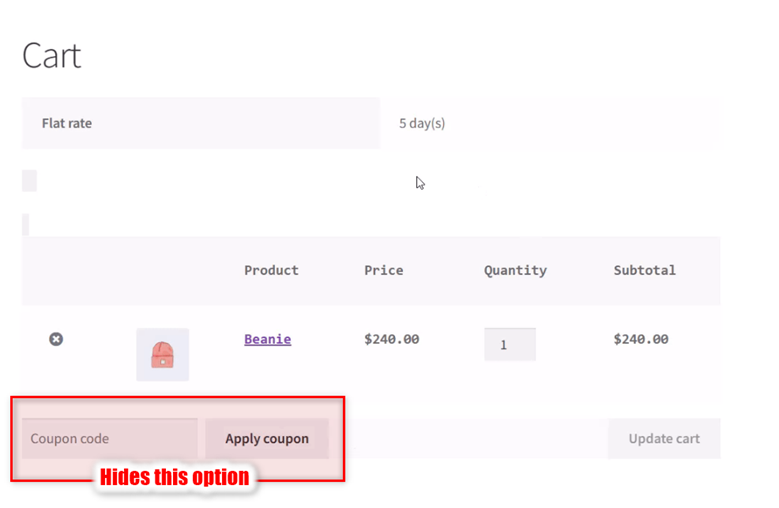
Tick the Hide checkbox for the Hide Coupon on Cart Page option if you wish to hide the option to add coupons in your WooCommerce store on the cart page.
Tick the Hide checkbox for the Hide Item Remove Link option if you wish to prevent buyers from removing items from their shopping cart on the cart page.
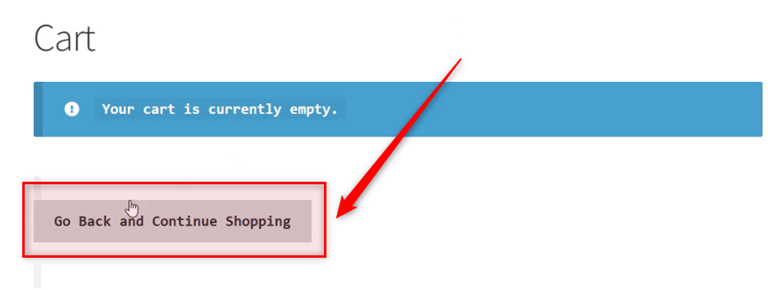
Enable the Change Empty Cart “Return to shop” Button Text option, select the method (Use Javascript or Replace empty cart template) to use for the same, and add the alternative button text.
The output will be:
Enable the Change Empty Cart “Return to shop” Button link option and add the alternative button link, if required.
Now, the “Return to Shop” button will redirect to a custom URL as set by you.
Output #
A sample empty cart page with the button text changed to Return to the store:
A sample cart page with the apply coupon and remove items from cart options hidden:


