Table of Contents
Overview #
The Header option lets you design and enable a header for the following documents:
- Invoice
- Proforma Invoice
- Packing Slip
- Credit Note
- All the customer documents (enabled through the Document Options)
To create/modify a PDF Invoicing document’s Header:
Go to your WordPress dashboard > Booster > Plugins > PDF Invoicing & Packing slips > PDF Invoicing > Header.
- Think of the document type for which you want to modify the header, and go to the respective tab.
- Select Enable for the Enable Header option.

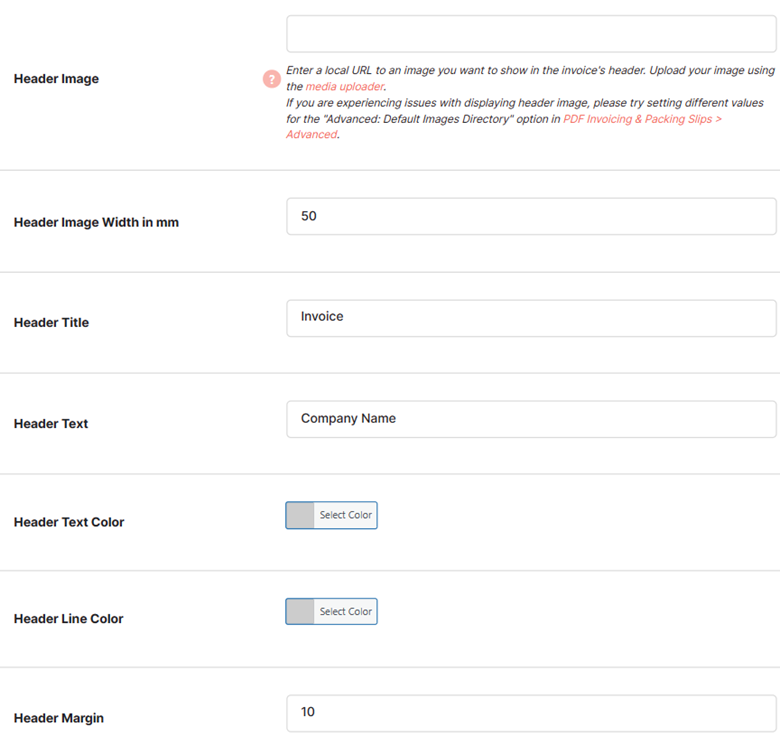
- Now, you can add an Image (its URL), width (in millimeters), title, text, text color, line color, and margin for your header.
- Click Save Changes.


